攀爬车Traxxas TRX4 路虎卫士 D110 仿真内饰透明内饰TRX4ZSP48-大号
1:10 Simulation Transparent Interior for RC Car Traxxas Trx4 Defender D110-BIG
Description:
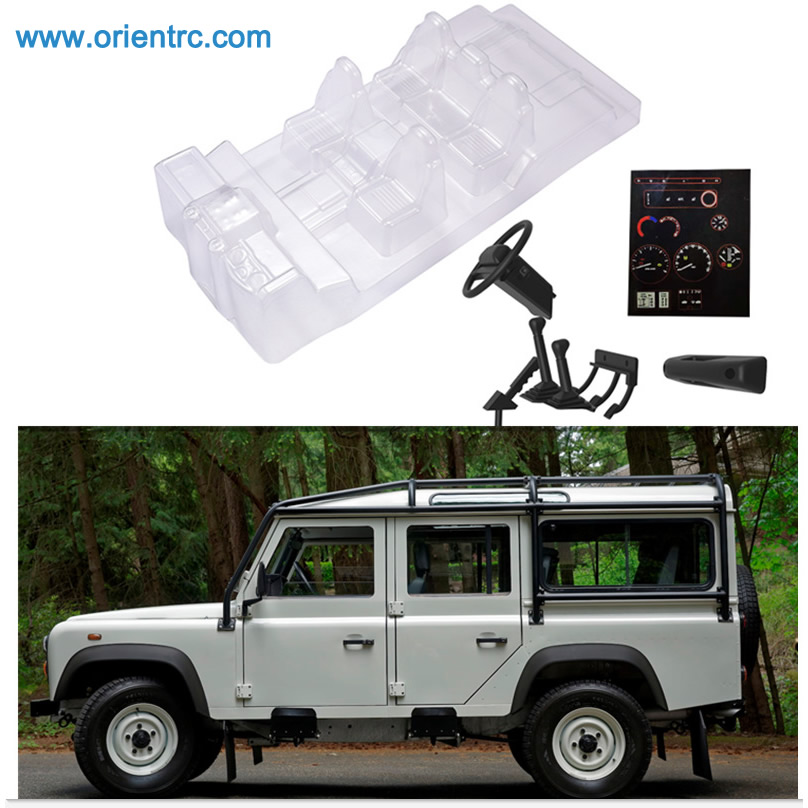
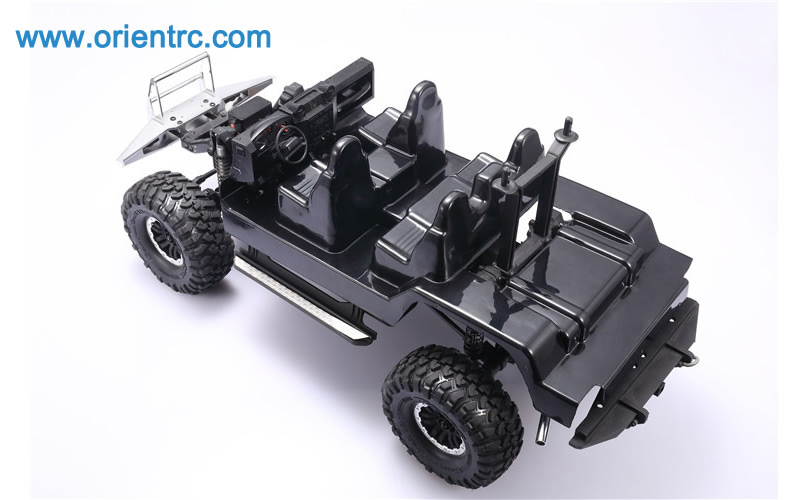
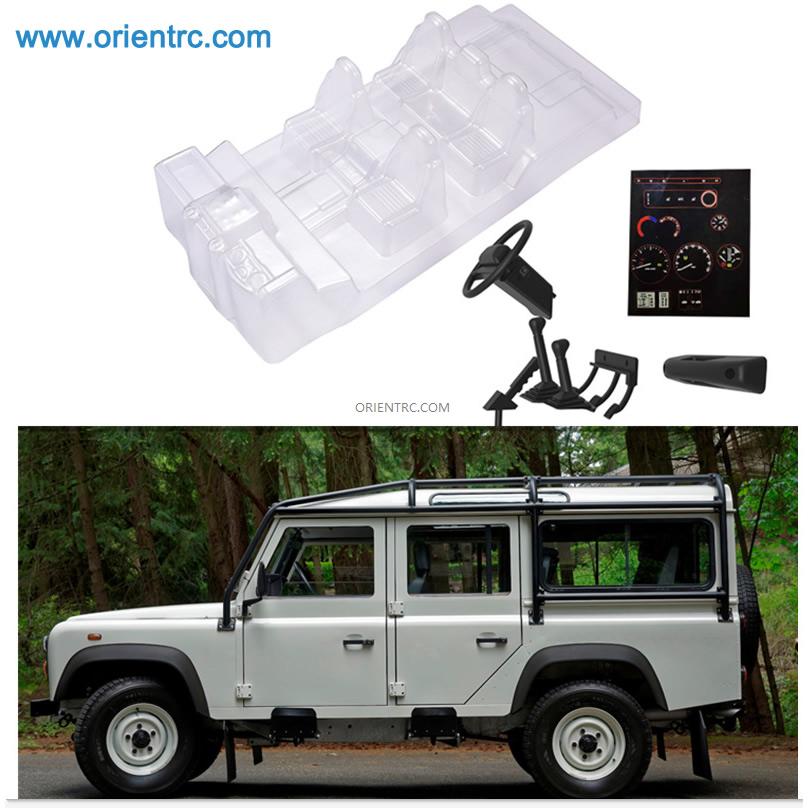
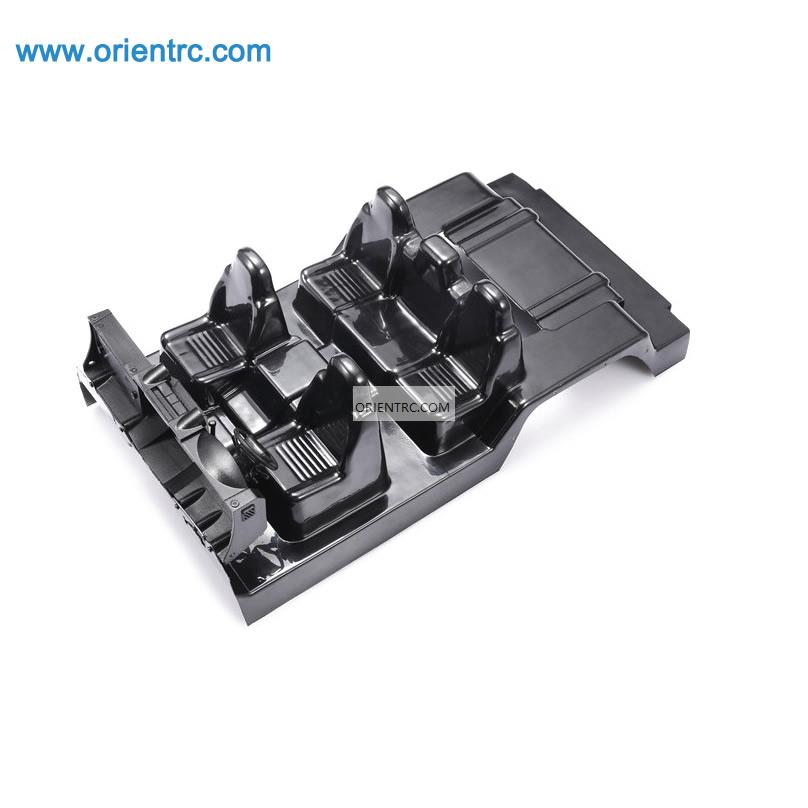
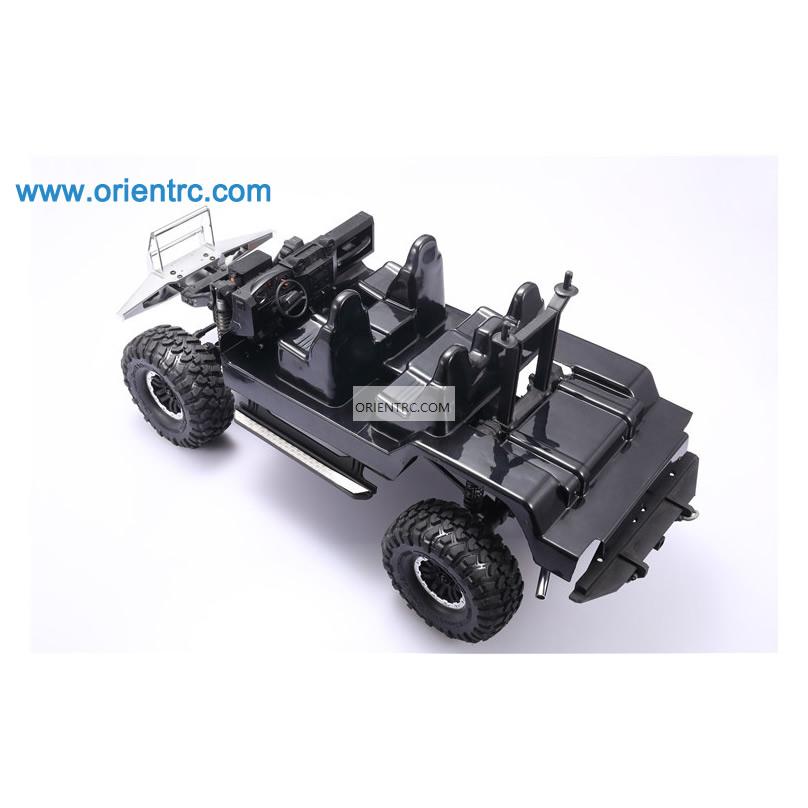
Traxxas trx4 defender D110 simulation interior transparent interior
No tailgate can be installed on the interior direct assembly and the car shell
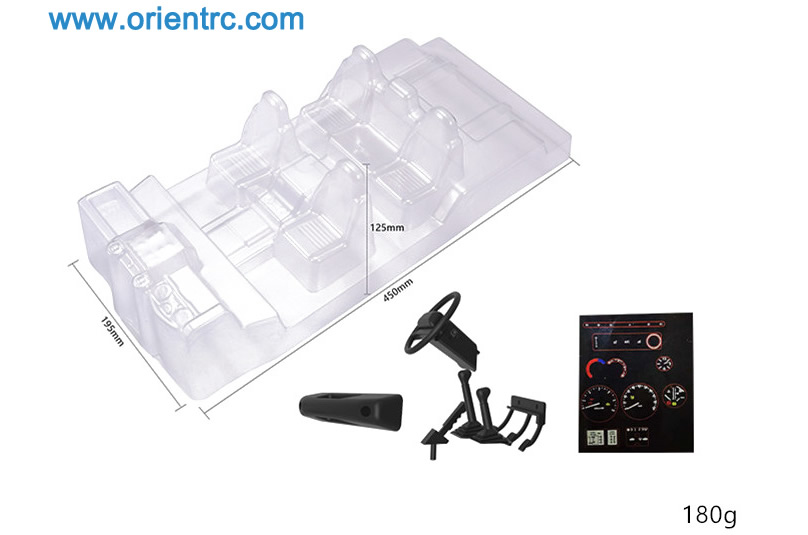
Single package weight : 180g
Step 1: as shown in figure ①
1. When spraying the color, first cut off the excess edge material of the transparent shell according to the cutting line.
2. After cutting the four sides, cut the center control according to the cutting line and the seat part.
3. Pay attention not to cut too much. If the installation is not in place, trim it in place.
4. Color DIY after cutting. Note: clean the oil before coloring.
5. It is recommended to cut the rear shell column after coloring.
Step 2: as shown in figure ②
1. After painting, paste the simulation sticker according to the corresponding position.
2. Install the steering wheel, brake pedal, gear lever and other accessories after the sticker is completed. The steering wheel is movable. Pay attention to the installation direction and do not damage the components.
Step 3: as shown in figure ③
1. Install the central control. First remove the front fender.
2. Remove the screws of the original car and install the central control. Pay attention to check whether the screws are level from the front gear before installation, and tighten the screws after adjustment.
Step 4: as shown in figure ④
1. Remove the rear wheel fender and spare wheel mount fixings when installing the seat interior trim.
2. Due to the removal of the spare wheel mount fixings, if the original spare wheel mount needs to be installed, it needs to be fixed with nuts.
3. Install the seat interior trim installed with accessories in the car shell, and fix it with screws and nuts according to the corresponding hole position of the wheel cover. Note that the wheel cover needs to be installed at the same time.
Step 5: as shown in figure ⑤
1. Fix the central control and seat interior with screws.
2. Install the front wheel eyebrow and fender.
3. After installation, raise the front and rear shell columns on the original frame by one hole. Note that the installation error of each person may raise or lower the hole position depending on the situation.
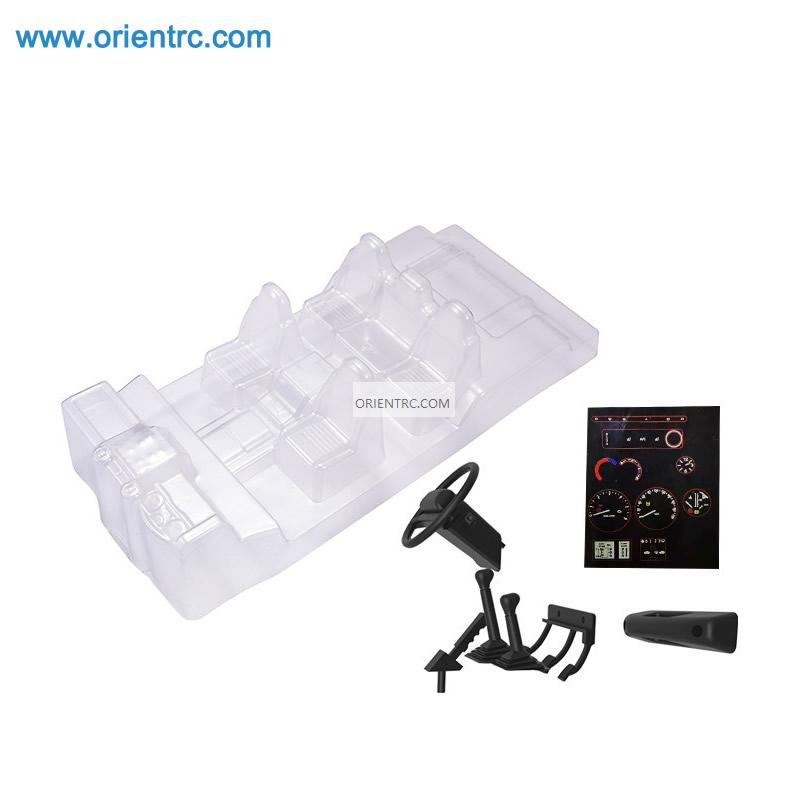
Package includedA transparent shell,
a sticker,
a steering wheel,
a hand brake lever,
a drawer,
two hand paddles and a foot brake.



 Wallis